

The Resourceful Sailor — A Tankless Job
What do you do when you discover your integrated fiberglass freshwater tank has osmotic blisters? First of all, do not drink out of it! This happened on Sampaguita, a 1985 Pacific Seacraft Flicka 20. These are the same kinds of blisters that can turn up on your hull, so they’re often over-reacted to. I never felt the tank was structurally unsound, but the cracked-open, visibly oozing blisters were definitely taking the fresh out of my water.
I did not want to rebuild the fiberglass water tank of a 20-ft boat I was also living on. The tragic mess would be terrible. The grinding, the sanding, the epoxy, the horror! However, with a bit of creative thinking and good fortune, I could turn a bummer into an upgrade. Here’s how:
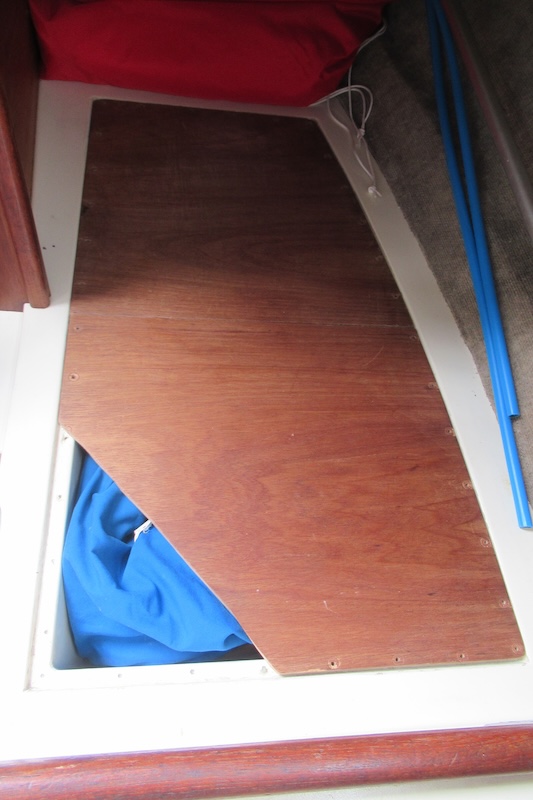
A friend was refitting his old-timey wooden boat with a custom-made polyethylene tank, so he gave me the 35-gallon (132-liter) Nauta flexible water bladder he was replacing. I decommissioned Sampaguita’s integrated tank by removing the linoleum-lined plywood top, sealed with silicone and fastened with about 40 screws. The factory tank was only 20 gallons, plus they’d built in a baffle dividing it into two sections. The size and the baffle meant the new flexible bladder would not come close to fitting into this space. However, the newly liberated space was not lost real estate. It would become dry storage. I cut the lid in half for easier handling and access. This allowed items to be stowed on top as they previously had been. If you are wondering about deck-fill plumbing, a Flicka does not have such a thing. The fill cap was embedded in the previously mentioned plywood lid.
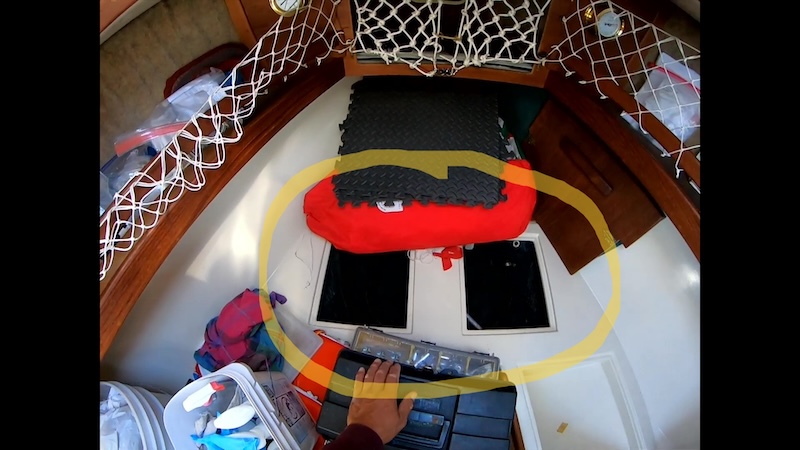
Sampaguita’s diminutive size (and the bladder’s large one), design and weight-distribution considerations meant there was only one place the flexible tank could go. That would be in the space under the V-berth. This was not ideal, but a manageable compromise. It would keep the water as low as possible, though it put the weight a little far forward. (35 gallons of fresh water is 280 pounds.) This could be mitigated by other storage distribution and by not filling up the bladder completely.
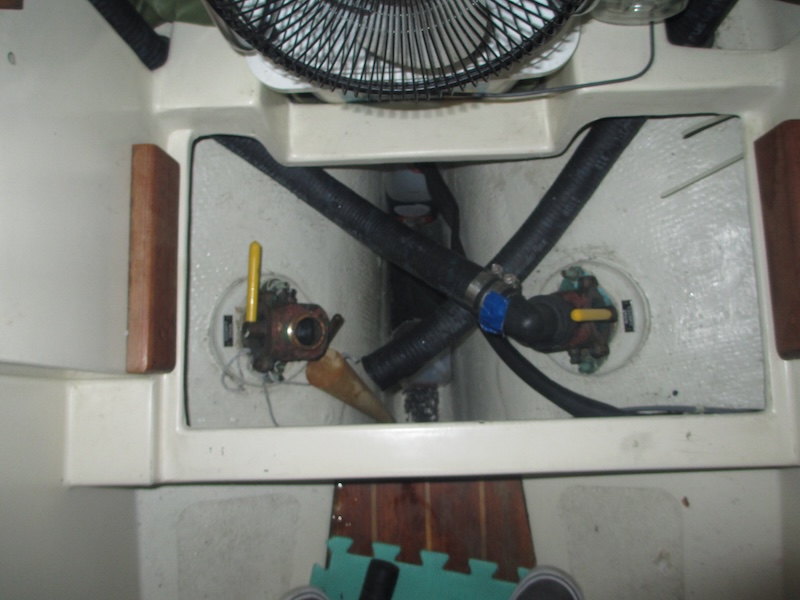
Plumbing was the next consideration. This was easy as long as I was willing to take an indirect route. The shortest one would have been under the ice box, and accessibility and drilling would have been difficult. Instead, I took the roundabout route, which had much easier access for drilling the three required holes through a bulkhead and the liner. Feeding the hose through was a piece of cake. (See the video.)
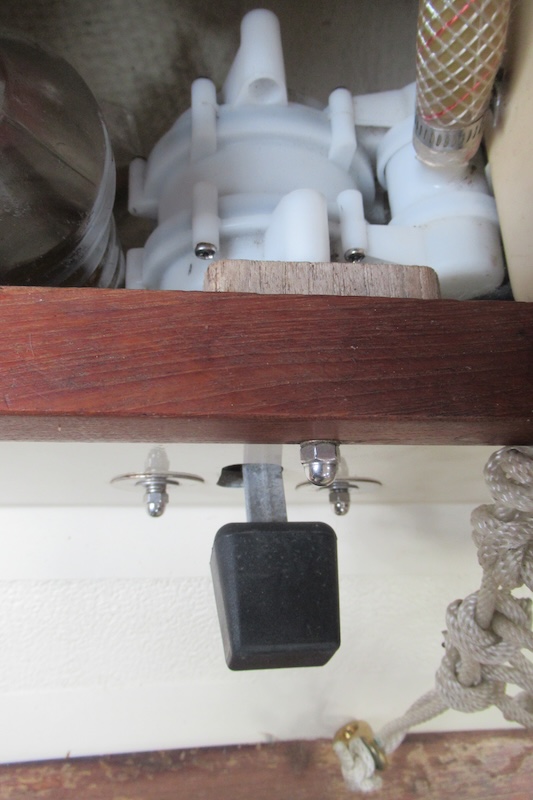
The Flicka 20 sink came with a Fynspray plunger-style hand-pump faucet whose operation was always awkward and tedious. (But great for water conservation!) I installed a Whale Gusher Galley foot pump below the sink, in line with the new plumbing, with no need to change the faucet. It was amazing! I only wish I had done it years ago. Now I could empty the water tank in minutes with no hands.
Filling the new tank, like the old, was still an in-cabin operation. I had no desire or necessity for extra plumbing or the production of cutting and sealing extra holes for a deck-fill. Avoiding a wet mess inside requires careful technique, the same as with the previous tank.
I have a mantra. “If it’s not broken, don’t break it fixing it.” Or maybe you prefer, “Leave well enough alone.” The blistered water tank was definitely not well. Since I already had the flexible bladder and had recently observed the galley foot pump installed in a neighbor’s Flicka, Koan, it became easy to envision a solution.
A Flicka layout, like all designs, is specific to itself. I wouldn’t expect this to translate precisely to other boats. As usual, the real aim of The Resourceful Sailor is to encourage a reader’s creative thinking. Remember, keep your solutions safe and prudent, and have a blast.
This video shows you the full picture: