
The Resourceful Sailor Makes Rigging Alignment a Top Priority
It’s been a little while since we had a DIY solution from The Resourceful Sailor, and we’re happy to have him back sharing his latest solution aboard his 1985 Pacific Seacraft Flicka 20, Sampaguita.
The Resourceful Sailor would like to thank Port Townsend Rigging (PTR) for assisting me with Sampaguita’s mast and rigging overhaul in 2021. Without their expertise, consultation, and kindness, it is hard to imagine having the incredibly satisfying and successful experience I did. They taught me so much it is impossible to write about the project without giving them a nod.
In reviewing photos of Sampaguita‘s masthead while working aloft on the tricolor, I noticed that the toggle and triangle plate connecting the masthead to the dual backstays were misaligned, awkwardly loading the clevis pin. The full backstays anchored to chainplates on each stern corner previously had marine eye terminals attaching directly to the masthead pin. When rerigging, the riggers and I added a toggle and triangle plate to improve alignment and articulation. The triangle plate is two plates, with 3/8-inch clevis pins through each corner, and meant to sandwich marine eye terminals. The crux of the problem was I only had eyes in two of the three pins. The top one, where it was attached to the masthead toggle, had nothing to keep the plates spread apart. They were sliding together and loading heavily on one side of the toggle. When installing, I failed to realize the need for a spacer between them.
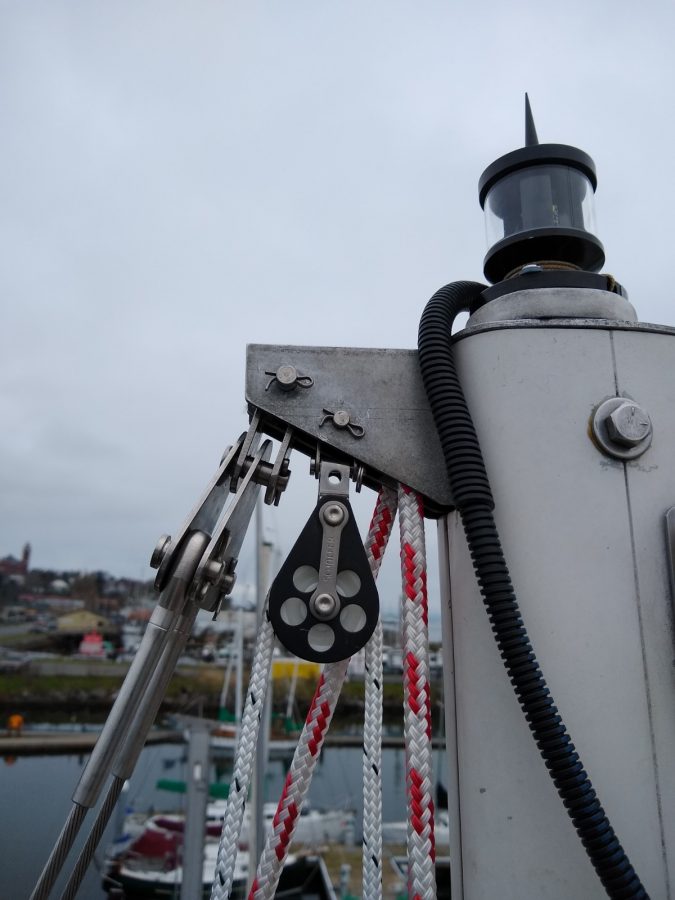
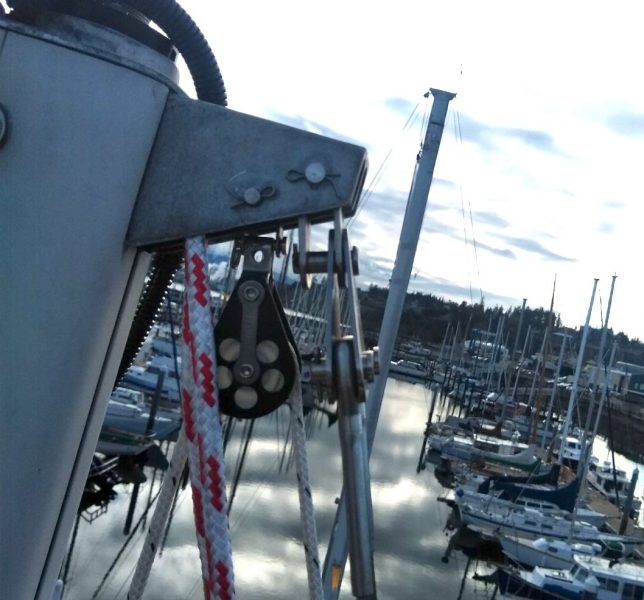
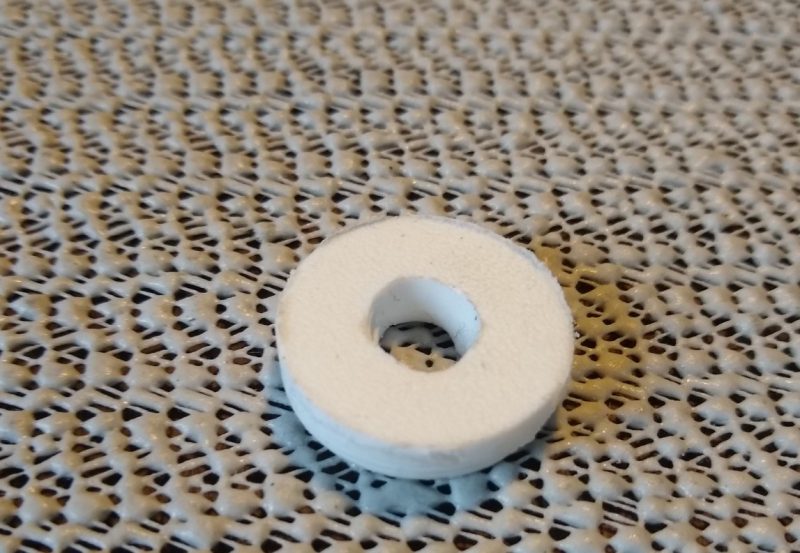
I made another trip to the top of the mast to inspect and suss what to do. There was no immediate danger, but it was unsatisfying and contradictory to my alignment efforts. Recollecting a conversation I’d had with the riggers regarding similar concerns at the chainplates (which I have done), it occurred to me I could make a spacer from some ½-inch StarBoard I had in the scrap bin. StarBoard is UV-resistant plastic, and very durable. A 1 1/4-inch hole saw on a hand drill made easy work of the initial disc. I enlarged the center hole to 3/8 inch, testing it with a clevis pin for a good fit. Finally, I used a hacksaw to trim it from ½-inch to 3/8-inch thick to fit the triangle plate.
I preferred not to lower the mast to insert the spacer, so I planned to set up the two main halyards as backstays to the stern quarter cleats. The mainsheet/topping lift combination would also serve as a stay. I would then slacken the turnbuckles on the wire backstays, climb the mast, and use a bungee to support the triangle plate from the top, removing the load on the misaligned clevis pin. I would then remove the cotter pin, slide the clevis pin partially out, just enough to slip in the spacer, and fully return the clevis pin and cotter pin to the assembly. Simple, right?
I set up the Topclimber, a system used for singlehanded mast ascension, and filled my bosun bag with tools and rigging parts. I brought extra of everything I thought I might drop. On arrival at the top, I confirmed that the spacer was of adequate diameter and thickness. I set up the bungee, hooking one end to the triangle plate and one end over the mast to the spinnaker bail. In addition to countering the weight of the stays, it would prevent the whole assembly from crashing onto the deck. I pulled the cotter pin, but the clevis pin was still under some tension. I could ease it out, but as it disengaged from the toggle and triangle plate, I realized that the backstays were not slack enough. Shoot!
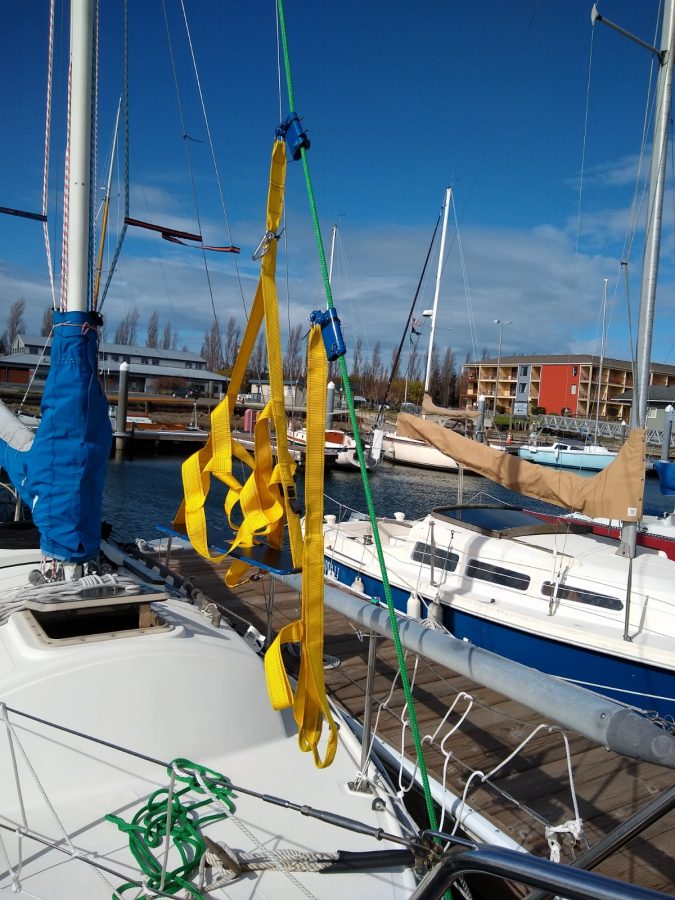
Since I was alone, I would need to descend, slacken the backstays more, and ascend again. I had been conservative when judging how loose to make them previously. Now that the temporary halyard stays had proven themselves, I had confidence in loosening the wire stays further.
Back at the top, I adjusted the bungee for better leverage, looping it around the tricolor with both hooks pulling up on the triangle plate. This better arrangement with the added slack countered the weight adequately, making the clevis pin easy to slide in and out.
I imagined and practiced how I would slip the spacer in without fully disengaging the pin and dropping either or both. I was concerned that if I completely removed the clevis pin, I would have trouble getting the assembly back together, making a mountain of a molehill. With my left hand reaching around the mast and holding the spacer against the clevis pin, I carefully eased it out with my right hand. The moment there was enough room, the spacer slid in, I lined up the holes, the pin went through, and the assembly went back together. I reinserted the cotter pin, shocked at how easily it all went together.
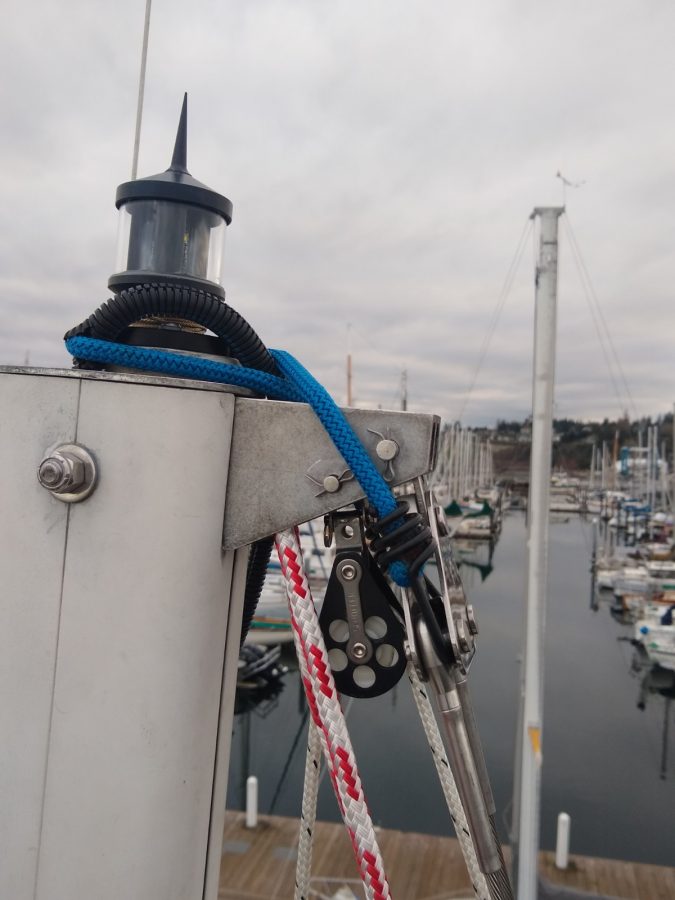
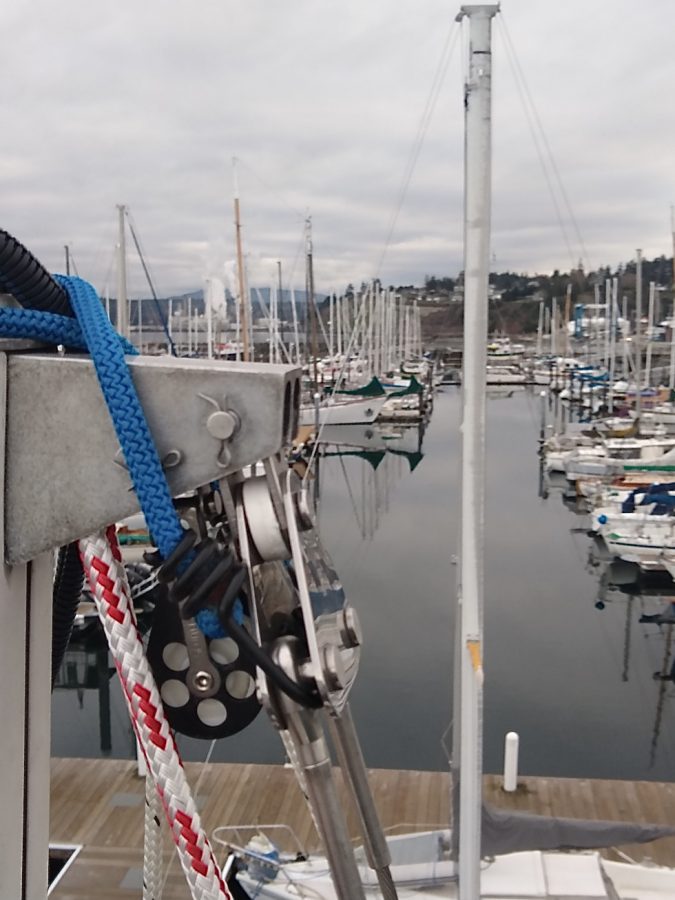
Preparation was 99% of the procedure. This write-up dismisses much of the stress involved, breezing over the learning curve at 31 feet, the physical exertion of climbing and reclimbing the mast, and not knowing if the theory was even possible to execute. Somehow, I managed not to drop any little (or big) bits. With the culmination of four trips up the mast, a recollected conversation, a tiny bit of StarBoard, and a heap of sweat equity, the assembly is much more satisfyingly aligned, and the triangle plate holds its proper design shape. Remember, keep your solutions prudent and safe, and have a blast.
You can read about The Resourceful Sailor’s previous DIY fix here.

Well done, addressing that misalignment before something went wrong. I haven’t seen one in years, but in my box of rigging bits I have a double-eye toggle (meaning it only has eyes on each end). Mine is bronze, 5/8″ pen size and probably 50 years old. I did a bit of googling around and couldn’t find a modern version in your pin size. These are designed to solve the problem you faced: two plates with a pinhole that is at 90° to another two plates. Sadly, it doesn’t seem anyone makes these anymore. It would have saved you a lot of bother.
Beau,
Thanks for sharing and for reading.