
The Resourceful Sailor Makes a Caulk-Trimming Tool
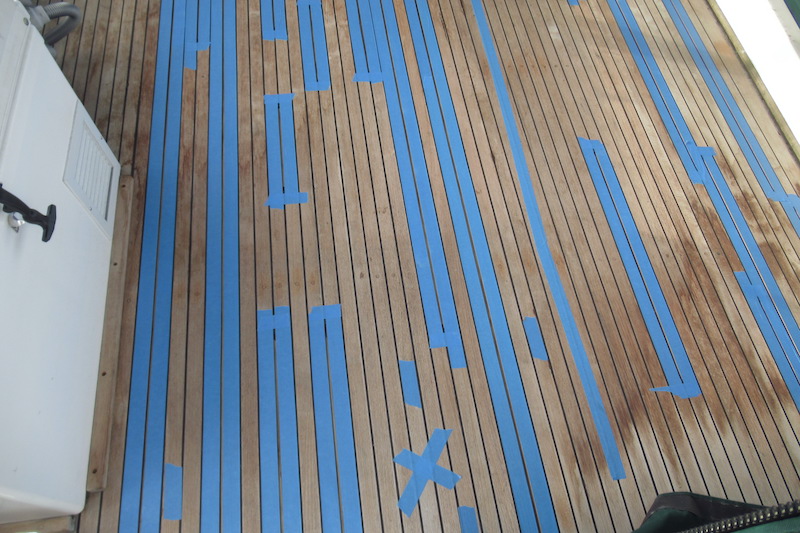
The Resourceful Sailor was helping a friend repair some teak deck seams on their ’80s-era Grand Banks flybridge. It was to be a spot job where the caulking had come away from the wood. There wouldn’t be any power sanding, and we only had a few days. The goal was to clean, tape, and fill the questionable seams. Then, come back after cure, trim off any excess, and be done with it. The trimming of the excess was the inspiration for this installment.
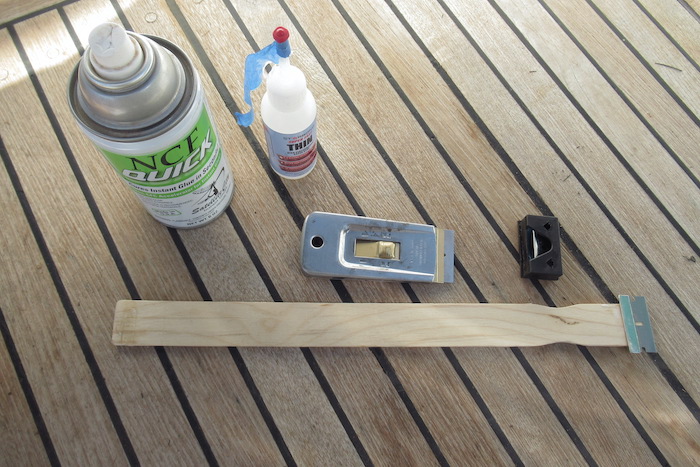
The Resourceful Sailor does not consider himself a shipwright and has limited tools. In this case, the job-specific tools were provided. I also have limited experience with teak deck repairs, so I was learning as I went. One thing I quickly realized was the generic razor blade scraper offered me for trimming the excess cured caulk was leaving me very dissatisfied. I couldn’t lower the angle of the blade enough to get a smooth and consistent cut. The blade also wanted to dig into the teak, proving destructive. This tool would not give the clean walk-away trim I’d hoped for.
The razor blade part was all good. I just needed a way to hold it for a lower angle of attack. I had recently learned about a Super Glue with a curing accelerator spray we had available. A clean paint stick was lying around, so, in a natural Resourceful Sailor fashion, I asked, “Do you think I could Super Glue a razor blade to the paint stick? Would it be strong enough, and would the angle be good?” The answers were yes, yes, and yes. It made a far more satisfying trimming tool than the scraper, with a smooth cut of the caulk without digging into the teak.
Here is a video of me using the improvised trimming tool.
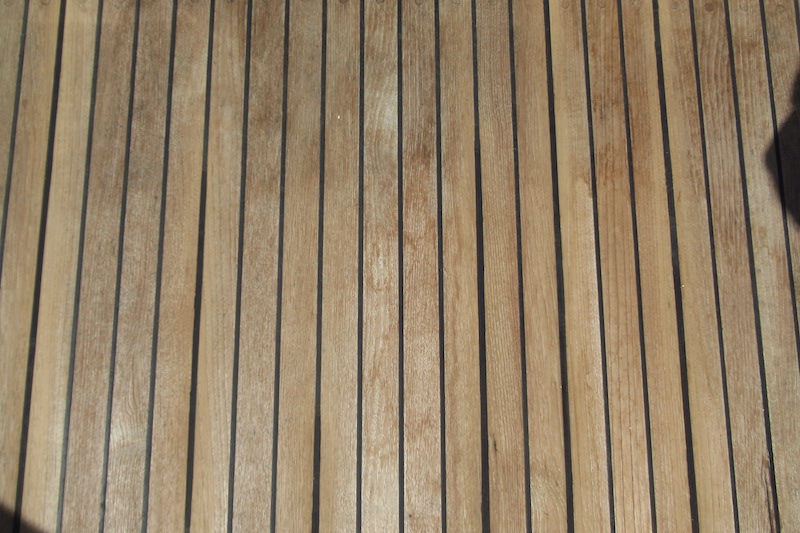
Throughout the project, I changed out the razor blade three times. A sharp blade was crucial. Each replacement was slightly different from the last. Not necessarily on purpose, or necessarily an improvement. It sounds ridiculous to speak of the intricacies of Super-Gluing a razor blade to a paint stick. I won’t take all the fun out of it for you. I will say the blade’s extension affected the cut and lifting of the caulk, but each blade I used worked, regardless of placement. It turns out that some hand-sanding along the new seams afterward helped smooth the wood/caulk edges for a more finished look. Since the trimming went so quickly, I had time to do it.
I had been presented with (what I considered) the wrong tool for the job and thought, “What would the right tool look like? Can I buy that tool, or better yet, can I efficiently make that tool?” The Super Glue was the binding force behind the idea, pun intended. I have been so impressed by the instant and strong bond with the accelerator. The tool was immediately available, and refreshing the blade was simple. Remember, keep your solutions prudent and safe, and have a blast.
Note: While most of The Resourceful Sailor’s posts have been about DIY solutions aboard his 1985 Pacific Seacraft Flicka 20, Sampaguita, we love this solution — the recaulking job described above is one that scores of sailors will attempt at some point in their lives. — Ed.
I found a good quality cheese cutter pulled backwards works amazing and does not dig out teak and cuts caulk flush.
I’ve done miles of re-caulking in my lifetime. The best trimming tool I know of is a good wood chisel. Chose one that is at lease 3/4” wide, so that a good amount of the beveled side of the chisel blade sits on each side of the seam. It’s easy to feel when the beveled side of the chisel is flat on the deck, then push it along the seam being careful to hold the beveled edge against the wood. Don’t push too hard, my pace is about 3” per second. Going too fast can lift the new caulking
The steel in wood chisels is much stronger and will hold a sharp edge much longer than the razor blade. Also, the handle is a lot easier to hang onto.
Awesome suggestions! Thanks for reading.